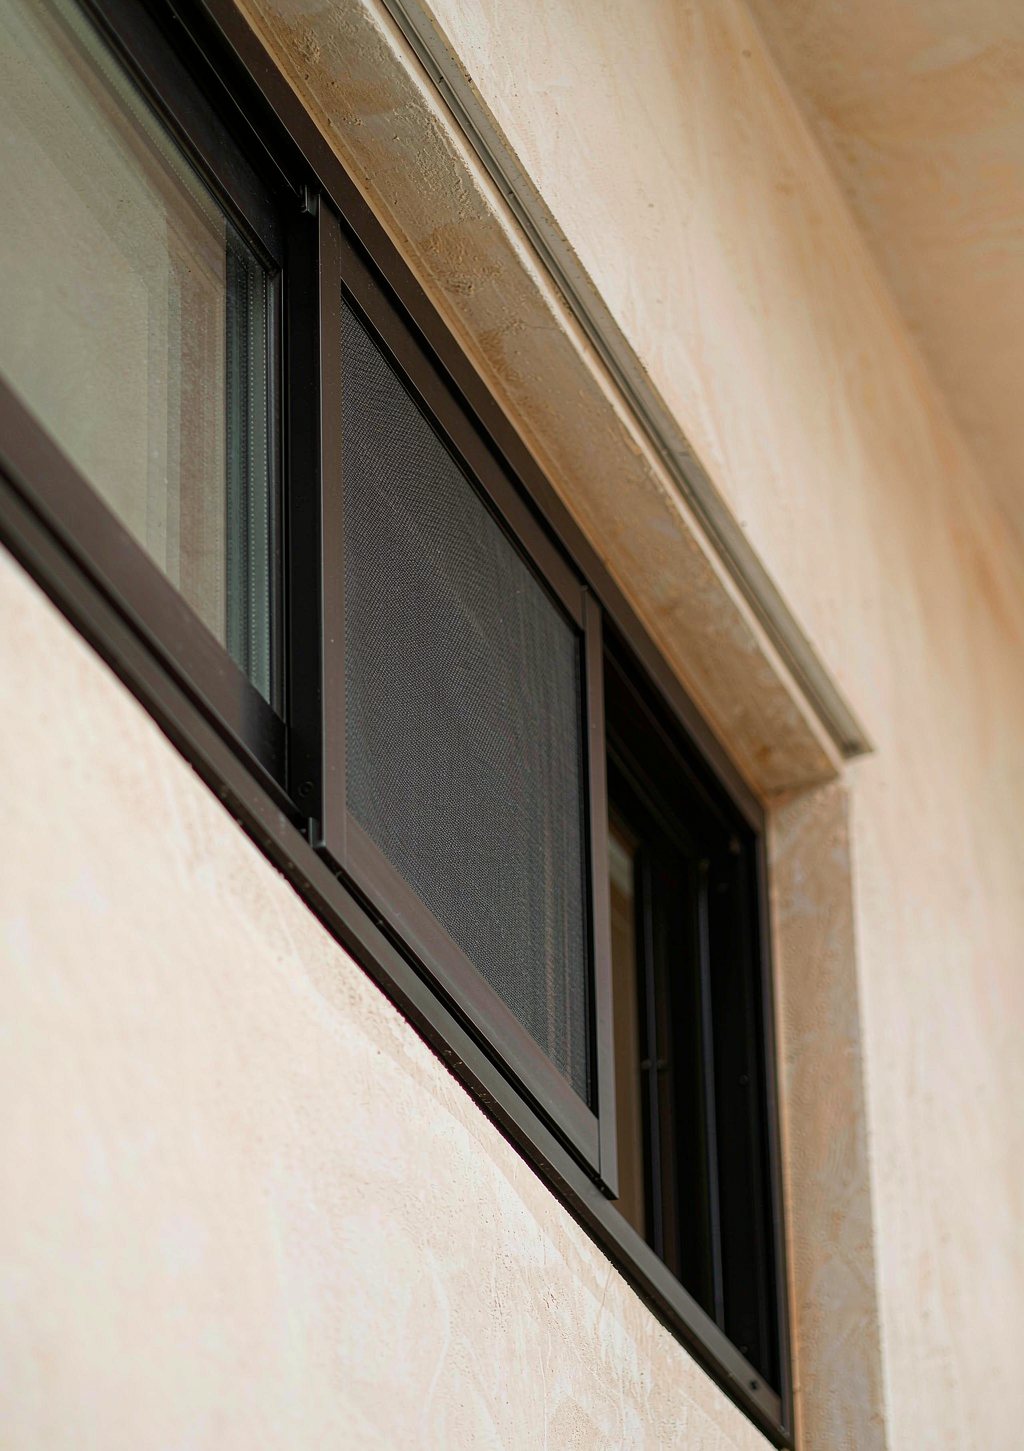
Between May and October, a window in Bangkok or Phuket is not tested by rain falling vertically. It is tested by rain travelling almost horizontally at 15–20 m/s, against a pressure difference that pushes water into every gap that is not drained or sealed. That is why a window that is perfectly dry in a hose test can soak a sill in the first real storm of the season.
Four paths, in order of frequency
1. The sash seal, and the gap behind it
Water crosses the outer gasket, sits in the space between the sash and the frame, and then finds the inner gasket. If that intermediate space is not drained to the outside, it fills until it reaches the inner seal — and then it comes inside. This is why "more silicone" never fixes a leak: the water is not coming through the seal, it is coming around it.
What fixes it: a drained and pressure-equalised chamber between the two seals, with a weep path that exits below the track rather than at the face of the frame.
2. The track, on sliding windows
Sliding windows leak at the track because the track is a channel, and a channel holds water. Two details matter: the sill must slope or step outward so water cannot stand, and the outer track must sit lower than the inner one. On a three-track slider, the drainage exits should be positioned so that the middle and inner tracks are never the low point.
Hidden drainage — where water leaves through the underside of the sill rather than through visible slots — is worth paying for in Thailand. It keeps the track drier and stops the wind from pushing water back up through the outlet.
3. The sill-to-wall junction
This is the leak that gets blamed on the window and is usually the building. Water runs down the wall, reaches the sill, and if there is no flashing or drip edge, it tracks back into the wall and appears at the inner reveal. No window can seal that from the inside.
What to insist on: a sloped sill (minimum 5%), a flashing or drip edge that projects past the wall face, a backer rod and sealant joint rather than a fillet of silicone, and a gap that allows the frame to move without tearing the seal.
4. Installation and fixings
Every screw that penetrates the frame below the drainage line is a potential path. So is a frame packed too tight, bowed by 3 mm, which opens the corner joint. Installation quality is not a detail you can inspect later — it is the reason two identical windows perform differently on the same elevation.
What the good detail looks like
- Stepped drainage: the sill has two or three levels, so water falls away from the inner seal instead of crossing it.
- Pressure equalisation: a small vent to the outside lets the chamber behind the outer gasket sit at outside pressure, so water is not pushed inward.
- EPDM, not PVC: EPDM keeps its elasticity through UV and 60 °C frame temperatures; PVC hardens and takes a set.
- Continuous gaskets at corners: mitred and vulcanised, or a moulded corner piece — not two ends butted together with sealant.
- Weep holes with deflectors: an open slot works; a slot with a small hood works in wind.
- A drained sub-sill: on large openings, a secondary drainage plane under the frame gives water somewhere to go if the primary seal fails.
Five things to check before the season starts
An afternoon with a torch, a hose and a screwdriver will tell you more than a rainy-season phone call.
- Look at the track. Is there standing water or silt? Silt blocks the weep holes. Clear them with a brush and flush with low-pressure water — never a pressure washer aimed at the seals.
- Run your hand along the inner gasket. Hard, cracked or shrunken gaskets have failed. A gasket that has taken a permanent set will not recover; replace it.
- Check the corner joints. A hairline gap at the bottom corner of a sash will pass water under wind pressure even if it looks closed.
- Test with a hose, from outside, low pressure, 15 minutes. Start at the bottom corner and work upward. Note where water appears inside — the entry point is usually 200–400 mm away from where it shows.
- Check the sill outside. Slope, sealant condition, and whether the drip edge actually projects past the wall. If the sealant has pulled away, cut it out and redo it with a proper backer rod, not a surface bead.
When it is not the window
If water appears at the top of the opening, at the ceiling line, or along the wall beside the frame rather than at the sill, the source is usually above: a roof junction, a parapet, an unsealed conduit, or a hollow wall carrying water down. Re-caulking the window will not fix it, and repeated attempts will damage the frame joint. Test the wall separately by spraying above the opening and watching where it emerges.
What to specify on a new project
For anything within 1 km of the coast or exposed to open ground, ask for: water tightness class 6 (≥ 700 Pa) rather than class 4, EPDM gaskets, 304 stainless fixings, stepped drainage with concealed outlets, and a written installation method statement covering the sill flashing. Those five items cost less than the repair of one water-damaged ceiling — and far less than the reputation of a project that leaks in its first monsoon.
We are happy to review a section drawing or a photo of an existing leak and tell you which of the four paths it is likely to be. Send it on WhatsApp with the approximate dimensions and the facing direction.